
Perfect make for those moments you feel stuck. Works up fast and if your kid doesn't drive you mad adding colours on the go (those obviously resulting in yarn-ends for weaving session later) .. i should have just picked some self striping yarn :D and I would have - for her shawl - after I had tested and made one for myself :D (how come I still haven't learned that with tinies around you better not plan too far :D) if she hadn't snatched my yellow scarf and declared it hers! but she did and i rather like her colour choices :)
At the end i crocheted it together to form a cowl so she would have an simple and warm solution not a headache for everyone involved .. she is still just 4 you know :P
while making it I thought this clean colour striped side would be "top" ...


but no ..
apparently there is too few colour changes there >:) so she chose this to be the top side :) - looks totally different!


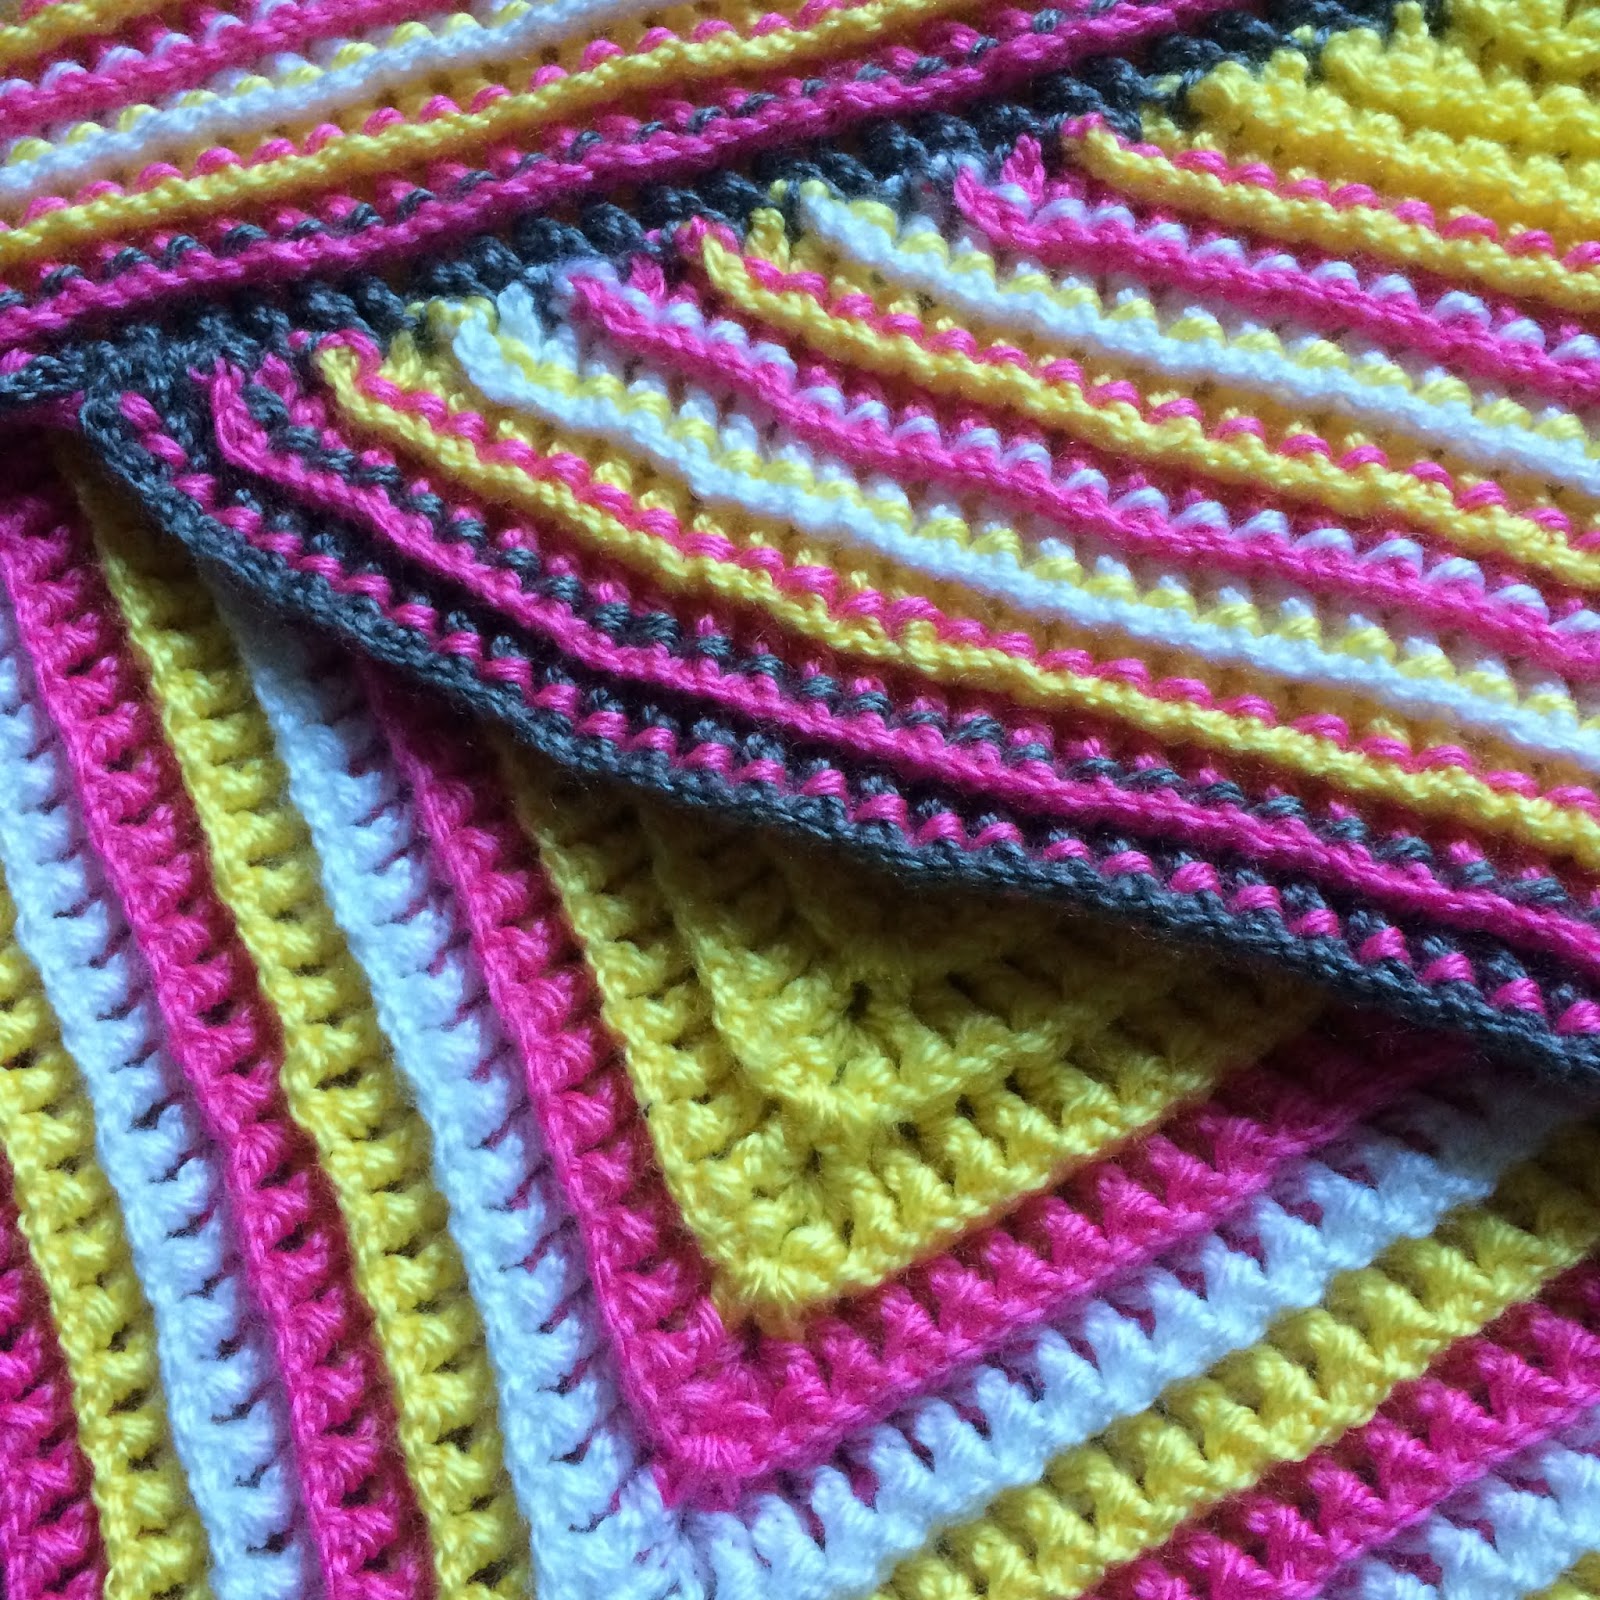
Here is backside photos to give you a clue about joining if you would like to make a cowl not scarf...


But now - let's get to the fun part - how I made it and how you could make it for yourself ;)
Abbreviations used (US terms):ch - chain
dc - double crochet
bpdc - back post double crochet
bpsc - single crochet (only used at the last row as a replacement for bpdc and works as edge)
*instructions* X times - repeat instructions in between ** number of times specified.
st - stitch
sts - stitches
ch sp - chain space
Magic ring, ch 4 (counts as dc and ch1). *Dc in magic ring, ch 1* 4 times. Dc in magic ring.
(11 sts: 5 ch, 6 dc)


2nd row
Ch 4 (counts as dc and ch1). Turn. Bpdc around first st, ch 1. *Bpdc around next st, ch 1* 2 times. (and now we'll make corner) dc, ch 1, dc in ch sp. *Bpdc around next st, ch 1* 2 times. Dc on top of last dc, ch, bpdc around last ch sp of previous row.
(19 sts: 9 ch, 4 dc, 6 bpdc)


3rd row
Ch 4 (counts as dc and ch1). Turn. Bpdc around first st, ch 1. *Bpdc around next st, ch 1* 4 times. (and now we'll make corner) dc, ch 1, dc in ch sp. *Bpdc around next st, ch 1* 4 times. Dc on top of last dc, ch, bpdc around last ch sp of previous row.
(27 sts: 13 ch, 4 dc, 10 bpdc)


... well and after that you just keep on making the same corners & same (slightly longer) sides .. and on the last row you can replace dc with sc or not .. simple as that ;)
& a bad video of how i'm making a turn at the end of a row just for fun .. don't worry it is short and I am not even talking in it (because i'm holding camera with my chin) :D
Happy crafting!

No comments:
Post a Comment